Swapping faces in a photo can be a fun and creative way to manipulate images, whether for entertainment, memes, or artistic projects. Whether you’re a beginner or someone with more advanced editing skills, swapping faces doesn’t have to be complicated. With the right tools and techniques, you can achieve a realistic and smooth face swap in no time. Here’s a comprehensive guide on how to do it.
1. Choose the Right Tool
The first step in swapping faces is to choose the right photo editing tool. Popular options include:
- Adobe Photoshop: This is the go-to tool for professional photo editing. It offers advanced tools like the lasso tool, layer masks, and precise selection features, making face swaps seamless.
- GIMP (Free): If you’re looking for a free option, GIMP offers many similar features to Photoshop, though it may require a bit more learning to master.
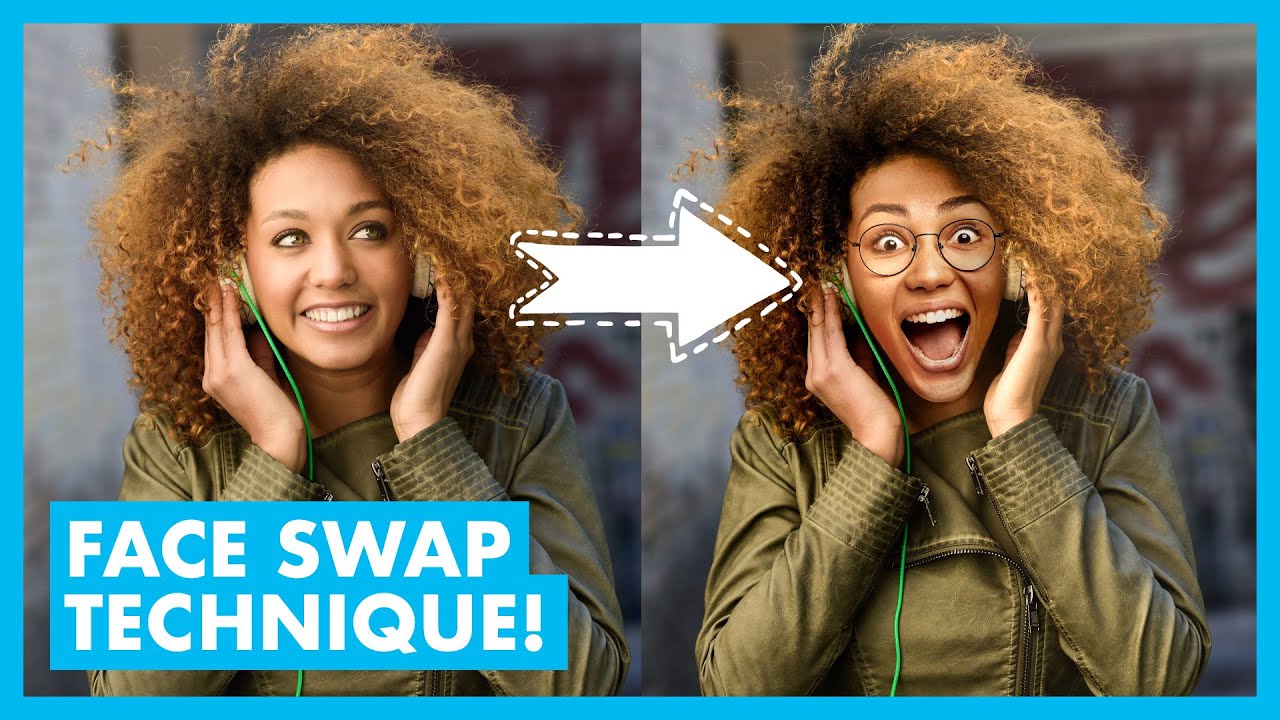
- Online Face Swap Tools: For those who want a quick and easy option, various online tools and apps are available, such as Vidqu AI face swap or Fotor. These tools simplify the process but might not offer as much control over the final result.
2. Prepare Your Images
Once you’ve chosen your tool, it’s time to gather the photos you want to edit. Make sure both faces are clear and visible. Here are some tips:
- Lighting: Ideally, both faces should be lit similarly, so the swap looks more natural.
- Angle: Try to pick faces that are at similar angles, as swapping faces with differing perspectives can lead to unrealistic results.
- Resolution: High-resolution photos make the process easier, as more detail allows for better blending and refinement.
3. Select the Faces to Swap
In Photoshop or GIMP, use the Lasso Tool or Pen Tool to outline the first face. Carefully trace the contour of the face, including the hairline and jawline. Once you’ve completed the selection, copy the face and paste it onto a new layer. But if you want to swap face in one click, you can check some of the online tools like MioCreate face swap, simply upload the base photo and target face photo, wait for the AI to check your result.
4. Position the Faces
Now that you’ve copied the first face, you’ll need to position it over the second face in the photo. Resize it as needed using the Transform Tool (Ctrl + T in Photoshop), and ensure that it aligns well with the second face in terms of size and placement.
For a more natural look, try to match the position of key features like the eyes, nose, and mouth. Sometimes, rotating the face slightly can help make it fit better.
5. Blend the Faces Together
One of the trickiest parts of a face swap is making the two faces look like they belong together. To do this:
- Use a Layer Mask: Add a layer mask to the face layer and use a soft brush to gently erase the edges. This will help blend the swapped face into the rest of the image, avoiding harsh lines.
- Adjust Colors and Lighting: If the colors or lighting of the faces don’t match, use the Hue/Saturation or Brightness/Contrast tools to adjust them. Matching the skin tone, shadows, and highlights is crucial for a realistic swap.
- Fine-Tune Details: Zoom in and carefully adjust small details such as the eyes, mouth, and any visible lines. You can use tools like the Clone Stamp or Healing Brush to fix any inconsistencies.
6. Save Your Image
Once you’re satisfied with the final result, save your work. It’s always a good idea to save the image as a Photoshop file (.psd) or GIMP project file (.xcf) to preserve your layers for future edits. When you’re ready to share your image, save it in a more accessible format like JPEG or PNG.
Conclusion
Face swapping is a creative way to have fun with photo editing, whether you’re creating funny memes, experimenting with portraits, or just learning new photo manipulation techniques. By following the steps outlined above, you can easily exchange faces in a photo and produce a professional-looking result. With practice, you’ll get better at blending the faces seamlessly, creating images that are both surprising and entertaining. Happy editing!